minolta maxxum 7000 user manual

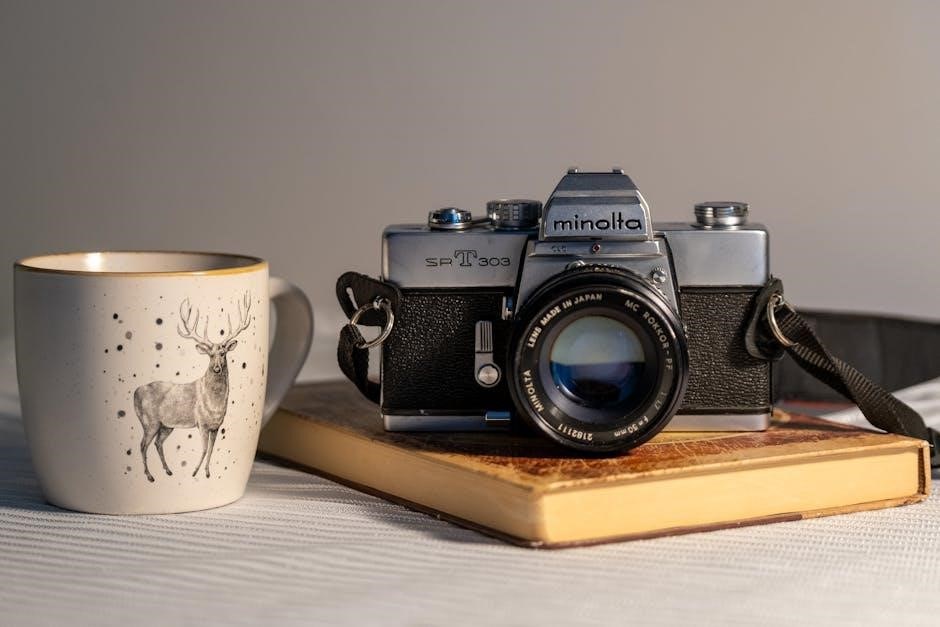
The Minolta Maxxum 7000, introduced in 1985, was a groundbreaking 35mm SLR camera, notable as the first to feature in-lens autofocus technology. It combined innovative features with user-friendly design, making it a landmark model in photography history.
1.1 Overview of the Camera
The Minolta Maxxum 7000 is a 35mm SLR film camera introduced in 1985, known for its innovative in-lens autofocus system. It offers a blend of automatic and manual controls, catering to both amateur and professional photographers. The camera features a built-in flash, multiple exposure modes, and a data panel for easy settings adjustment. Its ergonomic design and compatibility with a wide range of Maxxum lenses make it versatile and user-friendly, ensuring high-quality photography experiences.
1.2 Historical Background and Significance
The Minolta Maxxum 7000, launched in 1985, was a pioneering 35mm SLR camera that introduced in-lens autofocus technology, marking a significant leap in photography. As the first autofocus SLR from Minolta, it set a new standard in the industry, offering ease of use and advanced features. Its release positioned Minolta as a leader in innovative camera design, influencing future models and establishing the Maxxum series as a cornerstone in the transition to modern digital photography.
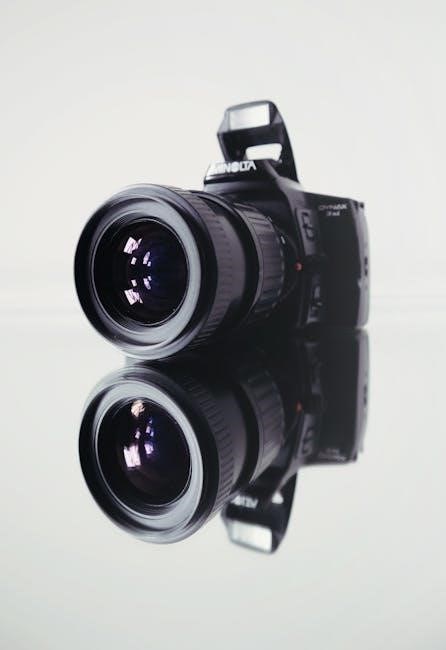
Camera Components Overview
The Minolta Maxxum 7000 features a robust design with ergonomic controls, including a data panel, autofocus lens mount, and intuitive buttons for exposure modes. Its internal mechanisms ensure precise film advancement and accurate light metering.
2.1 External Parts and Controls
The Minolta Maxxum 7000 features a data panel on top for exposure settings, a mode dial for selecting exposure modes, and a shutter button with a locking mechanism. The lens release button and focus ring are on the lens mount. Control buttons for film rewind, self-timer, and exposure compensation are ergonomically placed. The camera’s grip is designed for comfort, with a thumb rest for stable handling. These external controls provide easy access to key functions, enhancing usability for photographers of all skill levels.
2.2 Internal Mechanisms and Features
The Minolta Maxxum 7000 houses a sophisticated internal mechanism, including a high-precision shutter system and a TTL (Through-The-Lens) flash metering system. Its advanced autofocus motor drives the lens for quick and accurate focusing. The camera also features a built-in flash unit for convenient lighting solutions. Internal circuitry supports various exposure modes, ensuring optimal image capture. These mechanisms work seamlessly to deliver high-quality photographs, making the Maxxum 7000 a reliable choice for both amateur and professional photographers.
Loading Film
Open the camera back, align the film’s start mark with the red dot, secure it in the take-up spool, and wind gently. Close the back and check the counter.
3.1 Step-by-Step Film Loading Process
- Open the camera back by sliding the release latch downward.
- Align the film’s start mark with the red dot on the take-up spool.
- Gently secure the film leader under the spool’s clip.
- Wind the film slightly to ensure it’s properly seated.
- Close the camera back until it clicks shut.
- Advance the film by depressing the shutter button once.
- Check the film counter to confirm it reads “1” or “S”.
3.2 Checking Film Advancement and Status
To verify film advancement, ensure the film counter progresses after each shot. After loading, the counter should start at “1” or “S”. Use the frame counter and memory recall function to track exposures. Check the data panel for film status indicators, ensuring proper seating and alignment. If the counter doesn’t advance, gently rewind and reload the film. Proper advancement ensures accurate frame counting and prevents double exposures or missed shots.
Exposure Modes
The Minolta Maxxum 7000 offers four primary exposure modes: Program, Aperture Priority, Shutter Priority, and Manual. Each mode provides flexibility for different shooting conditions and creative control.
4.1 Program Mode
In Program Mode, the Minolta Maxxum 7000 automatically sets both aperture and shutter speed for optimal exposure. This mode is ideal for beginners or quick shooting situations, as it simplifies camera operation. The camera analyzes lighting conditions and adjusts settings accordingly, ensuring balanced exposures. Program Mode is versatile and works well in various shooting environments, allowing users to focus on composition while relying on the camera’s advanced metering system for precise results.
4.2 Aperture Priority Mode
In Aperture Priority Mode, users set the desired aperture, and the camera automatically adjusts the shutter speed to achieve optimal exposure. This mode is ideal for controlling depth of field, allowing photographers to prioritize creative effects like blurring backgrounds or sharpening landscapes. The Minolta Maxxum 7000’s metering system ensures accurate shutter speed selection based on the chosen aperture, making it a versatile option for photographers who want artistic control without manual calculations.
4.3 Shutter Priority Mode
In Shutter Priority Mode, photographers control the shutter speed manually, while the camera automatically adjusts the aperture for proper exposure. This mode is ideal for capturing motion effects, such as freezing fast-moving subjects or creating artistic blur. The Minolta Maxxum 7000 allows users to set shutter speeds from 1/1000th of a second to 30 seconds, giving precise control over motion and lighting. The camera’s advanced metering system ensures accurate aperture adjustments, making it suitable for dynamic photography scenarios like sports or low-light conditions.
4.4 Manual Mode
In Manual Mode, photographers gain full control over both aperture and shutter speed, allowing for precise adjustments to achieve desired creative effects. The Minolta Maxxum 7000’s Manual Mode is ideal for experienced users who want to override automatic settings. By adjusting the aperture ring on the lens and the shutter speed dial, users can fine-tune exposures for specific lighting conditions. The camera’s built-in light meter provides guidance, but the final settings are entirely manual, enabling complete artistic control over depth of field and motion blur.

Focusing Modes
The Minolta Maxxum 7000 offers Autofocus (AF) and Manual Focus (MF) modes, providing flexibility for precise control over focus. AF mode enables quick, accurate focusing, while MF mode allows manual adjustment for creative control, supported by focus lock and preview features for enhanced precision.
5.1 Autofocus (AF) Mode
The Minolta Maxxum 7000’s Autofocus (AF) mode utilizes advanced in-lens motor technology for quick and precise focus acquisition. Activated by pressing the shutter button halfway, AF mode automatically adjusts the lens to lock onto subjects, ensuring sharp images. It performs well in various lighting conditions and with compatible lenses, making it ideal for dynamic shooting situations. The AF system saves time and reduces blur, especially in action or portrait photography, enhancing overall shooting efficiency and creativity.
5.2 Manual Focus (MF) Mode
The Manual Focus (MF) mode on the Minolta Maxxum 7000 allows photographers to take full control over focusing by using the lens focus ring. This mode is ideal for precise focus adjustments, especially in low-light conditions or when autofocus may struggle. To activate MF, switch the lens to manual focus or use the camera’s focus mode selector. The camera provides visual and auditory feedback to confirm focus, ensuring sharp images. MF mode is particularly useful for macro, portrait, or artistic photography, where exact focus control is essential for creative expression.
5.3 Focus Lock and Preview
The Minolta Maxxum 7000 features Focus Lock, allowing photographers to lock focus on a subject and recompose the frame without losing focus. Activated by pressing the shutter button halfway after achieving focus, this ensures sharp images even when the subject is off-center. The Depth of Field Preview button enables previewing the actual depth of field at the selected aperture, helping to fine-tune the composition and ensure optimal focus control for professional-grade results in various shooting scenarios.
Data Panel Explanation
The Data Panel displays exposure settings, film speed, and mode, providing real-time feedback. Icons indicate flash, manual focus, and battery status for efficient operation and quick adjustments.
6.1 Understanding the Data Panel Layout
The Data Panel on the Minolta Maxxum 7000 is an essential interface displaying critical camera settings. It shows exposure modes, film speed, and frame counter. Icons indicate flash use, manual focus, and self-timer activation. The panel is divided into sections for easy reading, with the top showing mode and settings, and the bottom for status indicators like battery level. This layout ensures quick access to information, streamlining the shooting process for photographers.
6.2 Interpreting Exposure Settings and Icons
The Minolta Maxxum 7000’s Data Panel displays exposure settings and icons to guide photographers. The LCD shows aperture, shutter speed, and film speed. Icons indicate flash use, manual focus, and self-timer activation. A blinking aperture or shutter speed warns of incorrect exposure. The exposure compensation icon (+/-) shows adjustments, while the film advance indicator confirms proper loading. Understanding these symbols ensures accurate settings and optimal results, making the camera intuitive for both professionals and enthusiasts alike.
Flash Operations
The Minolta Maxxum 7000 features a built-in flash and supports external flash units, offering versatile lighting options for enhanced photography. The flash integrates seamlessly with the camera’s advanced exposure system, providing professional results in various lighting conditions.
7.1 Built-in Flash Usage
The Minolta Maxxum 7000 features a convenient built-in flash, automatically activating in low-light conditions. It offers multiple modes, including Auto, Fill, and Rear Sync, for versatile lighting control. With a guide number of 22 ( meters ISO 100), the flash covers a 35mm lens field. Manual flash power adjustment is also available. The flash recycles quickly and provides reliable performance. For energy conservation, it can be turned off when not needed, preserving battery life during extended shooting sessions.
7.2 External Flash Compatibility and Setup
The Minolta Maxxum 7000 supports external flashes for enhanced lighting control. Compatible flashes, such as the Minolta 5600HS(D), can be mounted via the hot shoe or connected using a PC sync cord. To set up, attach the flash, ensure it is turned on, and synchronize settings with the camera. For manual control, set the flash to manual mode and adjust power levels as needed. Always test the flash before shooting to confirm proper synchronization. This setup allows for greater flexibility in various lighting conditions, improving overall image quality.

Accessories for Enhanced Functionality
The Minolta Maxxum 7000 supports a range of accessories, including compatible lenses, external flashes, and camera cases, to enhance functionality and expand creative possibilities.
8.1 Compatible Lenses and Accessories
The Minolta Maxxum 7000 is compatible with a wide range of Minolta AF lenses, including zoom, prime, and specialty lenses like macro and wide-angle options. Additional accessories such as remote shutters, tripod adapters, and lens hoods enhance functionality. The camera also supports external flashes and filters, providing versatility for various photography needs. These accessories ensure optimal performance and expand creative possibilities for photographers using the Maxxum 7000.
8.2 Using the Camera Case and Lens Cap
The Minolta Maxxum 7000 comes with a durable camera case and lens cap for protection. To use the case, ensure the lens is retracted or at its shortest position. Place the camera gently into the case, securing it with the provided straps or zippers. The lens cap should be attached when the lens is not in use to prevent scratches or dust accumulation. Proper use of these accessories ensures the camera remains in excellent condition and ready for use.

Troubleshooting Common Issues
Check the data panel for error symbols. Ensure film is loaded correctly and advancement is confirmed. Verify flash settings if the flash fails to activate properly.
9.1 Diagnosing and Resolving Errors
Common issues include film not advancing, flash not firing, or camera not turning on. Check the data panel for error codes like “E” or “F,” which indicate specific problems. Ensure film is loaded correctly and the shutter is cocked. For flash issues, verify it’s charged and set to the correct mode. If the camera won’t power on, check the battery or ensure the film advance lever is not locked. Refer to the manual for detailed solutions and maintenance tips to prevent recurring issues.
9.2 Solutions for Common Problems
For common issues like film advance failure, check the data panel for error codes and ensure the battery is functional. Clean the camera’s electrical contacts with a soft cloth. If the flash malfunctions, reset it or replace the batteries. For blurry images, verify autofocus operation or switch to manual focus. Regularly clean the lens and viewfinder to maintain performance. Always refer to the manual for specific troubleshooting steps to resolve issues effectively and extend the camera’s lifespan.
Maintenance and Care
Regularly clean the camera and lenses with a soft cloth to prevent dust buildup. Avoid harsh chemicals and store the camera in a dry, cool place. Always use original accessories to ensure compatibility and protection. Proper handling and maintenance will extend the camera’s lifespan and ensure optimal performance for years to come.
10.1 Cleaning the Camera and Lenses
Use a soft, dry cloth to wipe the camera body and external components. For lenses, employ a microfiber cloth and lens cleaning solution. Avoid harsh chemicals or abrasive materials. Gently remove smudges or fingerprints, working in circular motions. Never use tissues, as they may scratch surfaces. For stubborn spots, lightly breathe onto the lens, then clean with a microfiber cloth. Regularly inspect and clean the viewfinder and data panel to ensure clarity. Store lenses with caps to prevent dust accumulation.
10.2 Storage and Handling Tips
Store the Minolta Maxxum 7000 in a protective case to shield it from dust and scratches. Keep it in a cool, dry place, avoiding extreme temperatures and humidity. Use silica gel packets to prevent moisture damage. When handling, ensure the camera is secure, especially when changing lenses or accessories. Always use a neck strap for added safety. Avoid touching the lens surfaces and mirror to prevent smudging. Regularly inspect the camera and lenses for signs of wear or damage.
The Minolta Maxxum 7000 is a reliable, feature-rich SLR camera that combines ease of use with advanced functionality, making it a standout choice for photographers of all levels.
11.1 Summary of Key Features
The Minolta Maxxum 7000 boasts a robust feature set, including advanced autofocus, multiple exposure modes (Program, Aperture Priority, Shutter Priority, and Manual), and a built-in flash. Its intuitive data panel provides clear visibility of settings, while compatibility with a wide range of lenses and accessories enhances versatility. Designed for both professionals and enthusiasts, the camera offers precise control over photography parameters, ensuring high-quality results in various shooting conditions.
11.2 Final Tips for Optimal Use
For the best experience with the Minolta Maxxum 7000, always refer to the manual for specific settings and operations. Experiment with different exposure modes to master lighting control. Regularly clean the camera and lenses to maintain image clarity. Use high-quality film and batteries for consistent performance. Store the camera in a protective case when not in use to prevent damage. Familiarize yourself with the data panel to quickly adjust settings, ensuring you capture moments effortlessly and effectively.
References and Further Reading
Visit ManualsLib, Butkus.org, or Internet Archive for free PDF downloads of the Minolta Maxxum 7000 manual. These resources provide comprehensive guides for troubleshooting and optimal camera use.
12.1 Recommended Resources
For detailed guidance, visit ManualsLib or Butkus.org, which offer free PDF downloads of the Minolta Maxxum 7000 manual. Additionally, the Internet Archive provides comprehensive resources, including service manuals and user guides. These platforms ensure access to original documentation, covering troubleshooting, maintenance, and advanced features. They are invaluable for photographers seeking to master the camera’s capabilities and resolve common issues effectively.
12.2 Online Communities and Forums
Online forums like DPReview, Photrio, and Reddit’s r/photography host active discussions about the Minolta Maxxum 7000. These communities share tips, troubleshooting advice, and creative insights. Specialized film photography forums and Facebook groups dedicated to Minolta cameras also offer valuable resources. Users often exchange experiences, repair tips, and maintenance guides, making these platforms essential for enthusiasts seeking to optimize their camera’s performance and explore its full potential.