clean bulk meal plan pdf

A clean bulk meal plan is a structured approach to gaining muscle mass while minimizing fat accumulation․ It focuses on a calorie-surplus diet with nutrient-dense foods, ensuring sustainable muscle growth and overall health․

Understanding Clean Bulking
Clean bulking involves consuming a slight calorie surplus to build muscle without excess fat․ It emphasizes balanced macronutrients and nutrient-dense foods to support lean muscle growth effectively․
2․1 Importance of Calorie Surplus
A calorie surplus is crucial for clean bulking as it provides the energy needed to build muscle․ Without it, your body lacks the necessary resources to recover and grow after workouts․
2․2 Role of Protein Intake
Protein intake is vital for muscle growth and repair during a clean bulk․ Aim for 1-1․5 grams of protein per pound of body weight daily․ This ensures your body has the necessary building blocks to recover and grow after workouts․ Complete protein sources, like lean meats, eggs, and dairy, provide all essential amino acids, while incomplete sources, such as legumes and grains, can be combined to achieve the same effect․ Consuming protein evenly throughout the day, in 3-4 meals, optimizes muscle synthesis․ Avoid excessive fat gain by balancing protein with a slight calorie surplus, focusing on nutrient-dense foods․ Proper hydration and timing further enhance absorption and utilization․ Consistency in meeting daily protein goals is key to achieving lean muscle gains and maintaining overall health during your clean bulk journey․

Structuring Your Clean Bulk Meal Plan
Creating a balanced and nutritious meal plan is crucial for clean bulking․ Focus on distributing meals evenly, ensuring adequate protein, carbs, and fats․ Track progress and adjust based on goals and workout intensity․
3․1 How to Split Your Meals
Splitting meals optimizes digestion and maintains energy levels throughout the day․ Aim for 4-5 smaller meals, including breakfast, snacks, lunch, dinner, and a post-workout shake․ This approach prevents excessive calorie consumption in one sitting and supports muscle recovery․ For example, start with a protein-rich breakfast, followed by nutrient-dense snacks like nuts or fruits․ Lunch and dinner should balance protein, complex carbs, and healthy fats․ Adjust meal frequency based on workout intensity and personal preferences․ Consistency is key to ensuring a steady calorie surplus and nutrient intake, which are essential for muscle growth․ Tracking each meal helps maintain accountability and ensures dietary goals are met․ This structured approach makes clean bulking manageable and sustainable over time․
3․2 Balancing Macronutrients
Balancing macronutrients is crucial for a clean bulk meal plan, ensuring muscle growth and overall health․ Aim for a distribution of 30-40% protein, 40-50% carbohydrates, and 20-30% fats․ Protein is essential for muscle repair and growth, with recommendations of 1-1․5g per pound of body weight․ Carbohydrates provide energy for workouts and recovery, focusing on complex sources like whole grains, potatoes, and vegetables․ Healthy fats, such as avocados and nuts, support hormone production and overall bodily functions․ Adjusting these ratios based on individual needs, like higher carbs for intense training or lower fats for leaner gains, can optimize results․ Tracking macronutrient intake ensures a calorie surplus while maintaining a balanced diet․ This approach prevents excessive fat gain and supports sustainable muscle growth․ Consistency and flexibility in macronutrient balancing are key to achieving clean bulking goals effectively․
3․3 Role of Snacks
Snacks play a vital role in a clean bulk meal plan by maintaining a consistent calorie surplus and preventing excessive hunger․ Choosing nutrient-dense snacks ensures sustained energy and supports muscle growth․ Opt for protein-rich options like Greek yogurt, nuts, or protein bars to maintain muscle repair․ Fresh fruits and vegetables provide essential vitamins and fiber, while whole-grain crackers or rice cakes offer complex carbohydrates for energy․ Healthy fats, such as avocado or peanut butter, also contribute to calorie intake without compromising nutritional quality․ Snacks should be spaced between meals to avoid overeating and keep metabolism active․ Portion control is key to avoid consuming too many calories․ Incorporating snacks tailored to individual needs helps maintain a balanced diet and supports lean muscle gain effectively․ This approach ensures that snacking complements meals rather than overwhelming them, keeping the diet structured and purposeful for clean bulking success․

Sample Clean Bulk Meal Plans
Sample clean bulk meal plans provide structured guidance, ensuring a balanced intake of protein, carbs, and fats․ They include whole foods like chicken, eggs, and rice, tailored to individual needs․
4․1 Daily Meal Plan Example
A daily clean bulk meal plan typically includes 5-6 meals to maintain a calorie surplus and support muscle growth․ Here’s an example:
- Breakfast: 6-egg omelet with vegetables, whole-grain toast, and Greek yogurt (400 calories, 30g protein)․
- Mid-Morning Snack: Protein smoothie with banana, almond butter, and oats (350 calories, 25g protein)․
- Lunch: Grilled chicken breast with quinoa and steamed broccoli (500 calories, 40g protein)․
- Afternoon Snack: Mixed nuts and an apple (200 calories, 8g protein)․
- Dinner: Baked salmon with sweet potatoes and green beans (550 calories, 50g protein)․
- Evening Snack: Cottage cheese with pineapple (200 calories, 20g protein)․
This meal plan totals approximately 3,000 calories, with a macronutrient breakdown of 329g protein, 371g carbs, and 148g fat, ensuring balanced nutrition for muscle gain․
4․2 Weekly Meal Plan Overview
A weekly clean bulk meal plan should prioritize consistency and variety to ensure steady muscle growth․ Each day’s meals are structured to maintain a calorie surplus, with adjustments based on workout intensity․ For example, rest days may include lower-calorie meals, while training days focus on higher protein and carb intake․ Meals are balanced to provide approximately 329g of protein, 371g of carbs, and 148g of fat daily․ Weekly planning includes meal prepping on weekends, ensuring healthy options like grilled chicken, fish, eggs, and whole grains are readily available․ Snacks such as nuts, fruits, and protein bars are incorporated to maintain energy levels․ The plan also includes a grocery list to streamline shopping, focusing on whole foods to avoid unnecessary fats and sugars․ This approach ensures sustainable muscle gain while promoting overall health and longevity․ Adjustments are made weekly based on progress and dietary needs․

Supplements and Nutrients
Essential supplements like whey protein, creatine, and omega-3s support muscle recovery and growth․ These nutrients complement your diet, ensuring optimal results without compromising the clean bulk principles of whole, nutrient-dense foods․
5․1 Essential Supplements for Clean Bulking
When following a clean bulk meal plan, certain supplements can enhance muscle growth and recovery․ Whey protein powder is a cornerstone, providing high-quality protein to meet daily intake goals․ Creatine monohydrate is another key supplement, boosting strength and endurance during workouts․ Additionally, omega-3 fatty acids support overall health and reduce inflammation, which can be beneficial for intense training․ Multivitamins ensure that any nutritional gaps in your diet are filled, while BCAAs (branched-chain amino acids) can aid in muscle recovery and growth․ Finally, a good probiotic supports gut health, which is crucial for optimal nutrient absorption․ These supplements, when combined with a well-structured meal plan, can help maximize your clean bulking results without compromising on health or performance․
5․2 How to Incorporate Supplements
Incorporating supplements into your clean bulk meal plan requires careful timing and consistency to maximize their effectiveness․ Whey protein powder, for instance, is best consumed post-workout or as a quick breakfast option to meet your protein goals․ Creatine monohydrate should be taken consistently, with a typical dose of 3-5 grams daily, ideally before or after your workout․ BCAAs can be sipped during workouts to aid recovery and reduce muscle soreness․ Omega-3 fatty acids are best taken with meals to support absorption and overall health․ Multivitamins should be included once daily, preferably with breakfast, to fill any nutritional gaps․ Timing your supplements correctly ensures optimal absorption and aligns with your training and recovery schedule․ Always consult a healthcare professional before adding new supplements to your regimen to avoid any potential interactions or side effects․

Tips for Success
Stay consistent, track progress, and adjust your calorie intake as needed․ Balance nutrient-dense meals with flexibility to avoid burnout․ Patience and dedication are key to sustainable muscle growth․
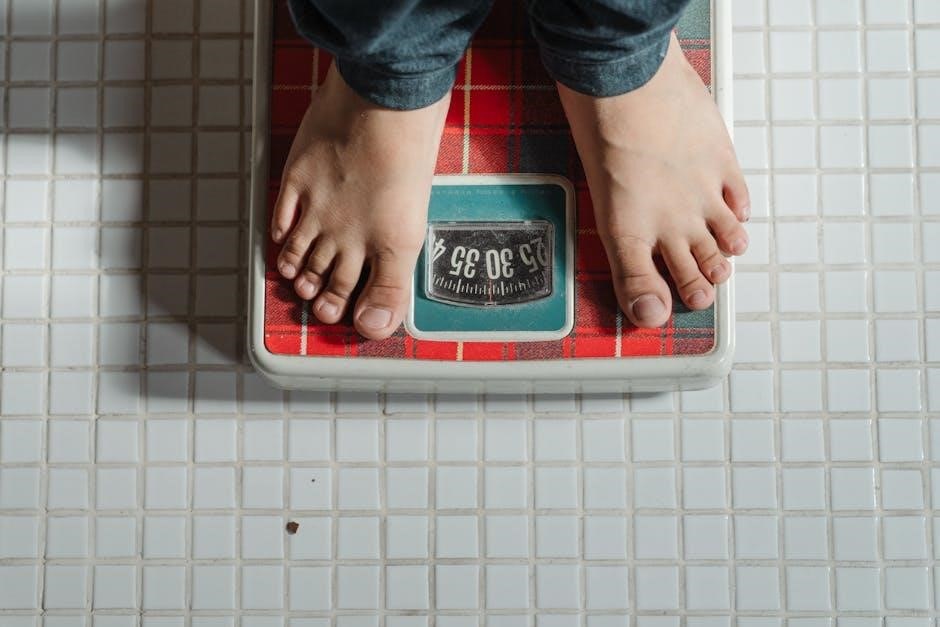
6․1 Tracking Your Progress
Regularly monitoring your progress is crucial for a successful clean bulk․ Start by documenting your weight, body fat percentage, and muscle measurements weekly․ Use a food diary to track calorie intake and macronutrient balances, ensuring you stay in a surplus․ Photograph your progress monthly to visually assess muscle growth and fat levels․ Adjust your meal plan based on these insights, increasing calories if muscle gain stalls or reducing them slightly if fat accumulation is too rapid․ Strength gains in the gym are also a key indicator; note improvements in lifts to gauge muscle development․ Consistent tracking helps maintain focus and guides necessary adjustments for optimal results․
6․2 Staying Consistent
Consistency is the backbone of a successful clean bulk․ Stick to your meal plan and training routine diligently, as muscle growth requires time and patience․ Aim to eat at regular intervals, maintaining a balance of protein, carbs, and fats․ Hydration is equally important, so drink plenty of water throughout the day․ Sleep quality and duration also play a significant role in recovery and muscle synthesis, so ensure 7-9 hours of rest nightly․ Avoid skipping meals or workouts, as this can disrupt progress․ Stay committed to your calorie surplus, adjusting portions only when necessary․ Over time, consistent effort will yield noticeable gains in muscle mass and strength․ Remember, clean bulking is a marathon, not a sprint—steady adherence to your plan ensures long-term success․

6․3 Avoiding Common Mistakes
When following a clean bulk meal plan, it’s crucial to avoid common mistakes that can hinder progress․ Overeating or consuming empty calories can lead to excessive fat gain, undermining your goal of lean muscle growth․ Skipping meals or inconsistent eating patterns can disrupt your calorie surplus and slow muscle synthesis․ Additionally, neglecting sleep or recovery can impede muscle repair and growth, despite proper nutrition and training․ Another mistake is not tracking progress, making it difficult to adjust your plan as needed․ Avoid relying too heavily on supplements, as whole foods should form the foundation of your diet․ Lastly, don’t rush the process—muscle growth takes time, and patience is key․ By avoiding these pitfalls, you can stay on track and achieve your clean bulking goals effectively․